Our Guide To Your Ultimate Spring Detailing
April 20 2021, Centennial Auto Group

Like most Islanders, we’re ready to say goodbye to winter weather and hello to spring! You’ve probably taken care of your spring service basics by now, but how much thought have you put into enhancing the exterior of your vehicle?
We dove into the nitty gritty behind keeping your vehicle spotless and sparkling all spring and summer long. Read on as we get down and dirty with our detailers to bring you our Ultimate Spring Detailing Guide!
Leave Rust In The Dust
First thing’s first. Before you can get your vehicle to sparkle and shine, you’ll want to make sure you hose off all the dirt and grime that winter has left behind on your undercarriage and in your wheel wells. Try to wash all exposed areas with water to remove any salt and help prevent rust.
This step is likely one of the dirtiest parts of the process, but also one of the most essential. If you’d rather skip the hassle and keep yourself dry, we recommend taking your vehicle to a brushless car wash that includes an undercarriage wash.
It All Comes Out In The Wash
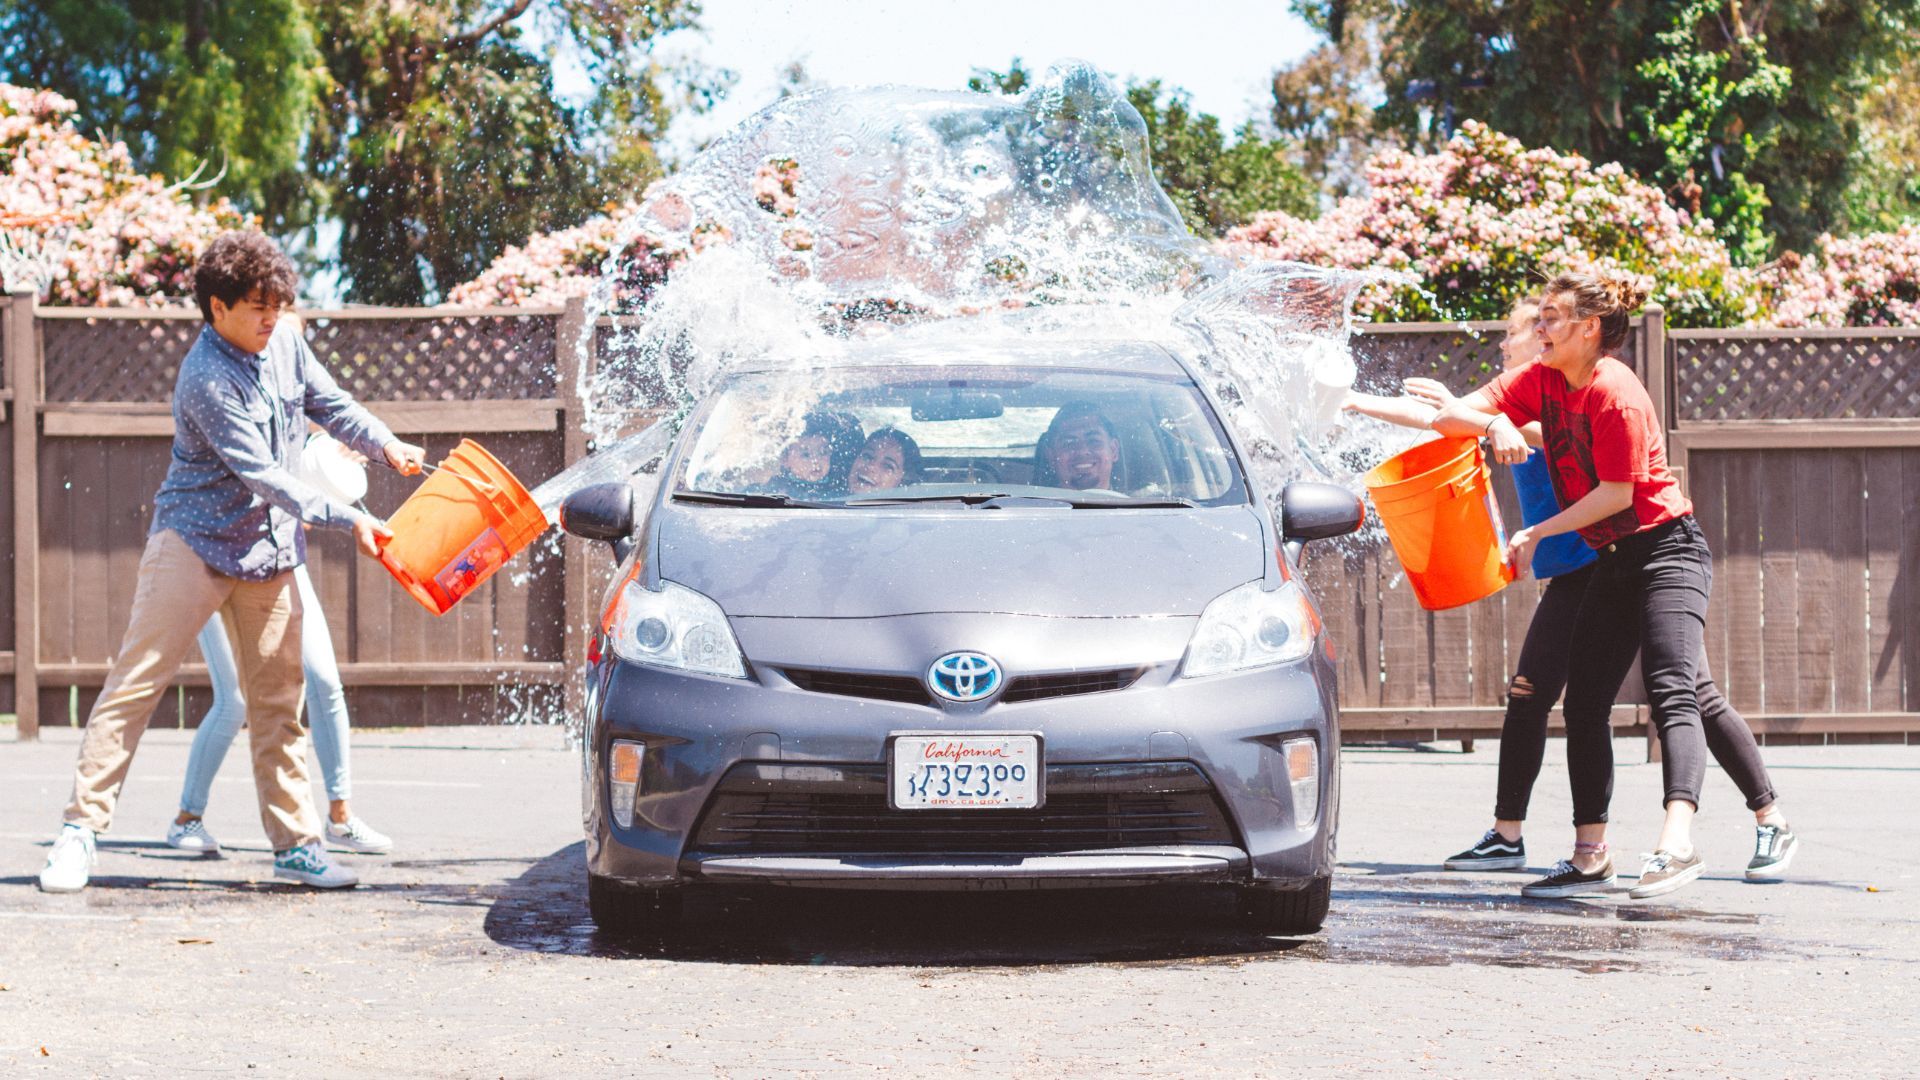
Now that you’ve cleared those hard to reach areas of salt, mud, and other debris it’s time to focus on the body of your vehicle. If possible, try to tackle this step from inside your garage or chosen washing area to prevent the sun from drying parts of your vehicle prematurely and leaving pesky water spots.
When you’re ready to roll, you’ll want to work with gravity, beginning at the top and working your way down. Focus on one panel at a time, and be sure to use sponges or mitts that are plush, or have a deep weave to help trap and collect dirt and debris while you wash. Once this step is complete, it’s time to get drying. Using a chamois will give you the best results, and can help ensure there are no streaks or smudges when you’re done.
Wax On Wax Off
At this point, your car is dry and probably already looking quite a bit better than it did when you started. If you want to be especially thorough and really put some elbow grease into getting that glossy finish, use a clay bar to scrub the surface of your vehicle’s exterior to get any remaining embedded contaminants. Keep in mind, going this route can be pretty labour intensive and if done incorrectly, can result in scratching your vehicle. If you’d rather speed things up, it’s time to channel your inner Mr. Miyagi!
Grab your wax and a clean microfiber cloth, and start applying your product in small, circular motions. You won’t need much, especially in the beginning, so try to spread a thin layer that’s just enough so that you can still see the paint colour through the wax. Wax one section at a time, then carefully remove the wax with a separate clean cloth, making sure to follow your product’s instructions for removal times.
Be The Captain Of Your Cabin
Last but not least, don’t forget to give the interior of your vehicle some extra love and care. Remove your floor mats along with any garbage or clutter that’s accumulated over the past fews months, then dust off your shop vac and go to town on your floors, seats, trunk, and liners.
Wash or wipe your car’s seats (depending on the material), then take care to clean both the high-touch and easy to forget about areas of your interior - your console, windows, dashboard, etc. Finally, it’s time to sit back and relax! Enjoy your shiny new ride until the next time you have to hit the road.


